
Project Chaos Documentation
Top Section

Layer Selectors
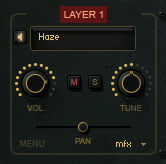
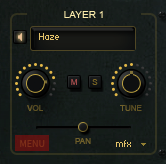
The Label at the top of each layer can be clicked to select the layer for editing.
Layer Enablers
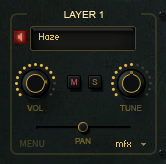
The button with the speaker icon enables the layer. Layers that aren’t enabled will not produce any sound.
Category Selectors
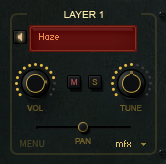
Each Layer contains up to 32 sound categories. Use this dropdown to select one.
Layer Mixer Controls
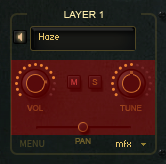
Each layer has adjustable Volume, Tuning, and Pan, as well as mute and solo buttons.
Menu Mode Enabler
Each layer can be in one of two play modes. Solo mode, which maps a single sample across the entire keyboard, and Menu mode, which maps each sample to a single key. Turn on Menu Mode here. Hint: When in Menu Mode, key switches are used to control tuning. Check out the piano at the bottom of Kontakt to see where the key switches are. The orange keys will control tuning, with the light orange key representing the root.
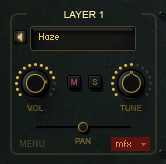
Layer Output Selector
This menu selects the output to which the layer will be routed. The default ouput, “mfx” routes the layer through the Master FX section. Choosing another output will bypass the Master FX.
Middle Section

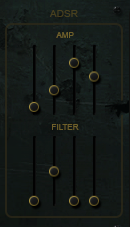
Layer ADSR
On the left is the Layer ADSR section. This section allows you to shape Amp and Filter ADSR envelopes on the currently selected layer.
Layer Filter Controls
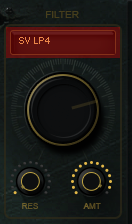
To the right is the Layer Filter section. This section controls the Filter on the currently selected layer.
Filter Type
Use this dropdown to select between a wide array of LP, BP and HP Filter types.
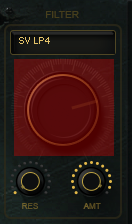
Filter Cutoff
This knob controls the Layer Filter Cutoff.
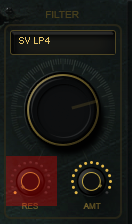
Filter Resonance
This knob controls the Layer Filter Resonance.
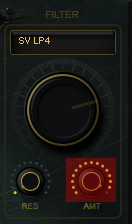
Filter EG Amount
This knob controls the amount of influence that the Filter ADSR has on the filter cutoff. The knob is bipolar, so turning it to the left will result in the ADSR having an inverted effect on the cutoff.
Screen
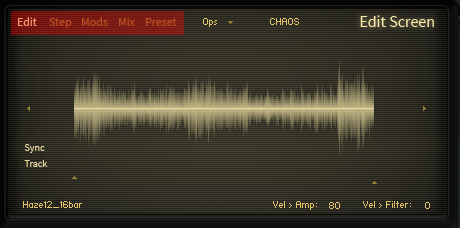
Page Tabs
These are used to change screen pages.
Operations Menu
This menu contains functions to show/hide the sample pitch adjuster, copy/paste sequencer steps and initialize the patch.
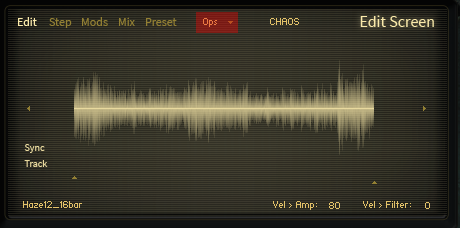
Edit Screen
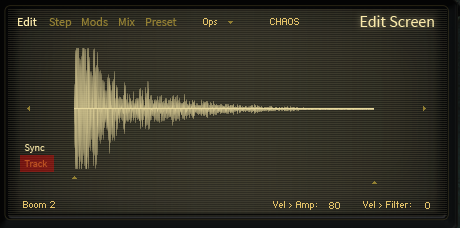
This screen allows you to browse samples on the selected layer, enable syncing and tracking, adjust velocity settings, adjust the sample start range used by the sub sequencer and adjust sample tuning for your bank.
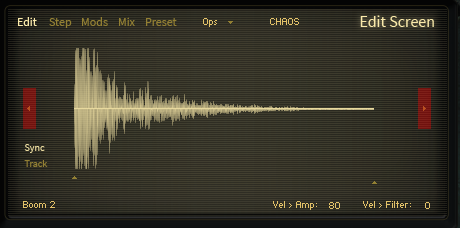
Previous/Next Sample Arrows
Use these to browse through samples while the layer is in default Solo play mode. Hint: MENU play mode can be used for faster selection of samples. When you disable MENU mode, the last played sample stays active.
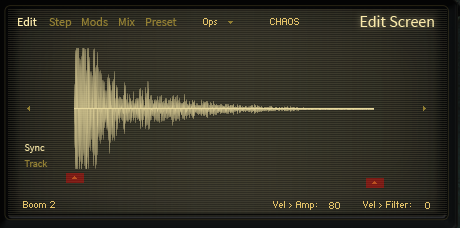
Sample Start Range
The left handle sets the sample start offset point. The right handle is used to define the range used by the Sub Sequencer’s Start parameter. This is helpful to limit the sub sequence start to a certain area of the sample.
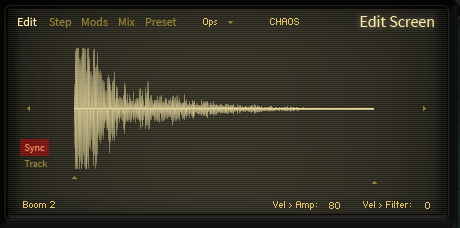
Layer Sync
Use this to activate/de-activate tempo sync on the selected layer.
Layer KeyTracking
Use this to activate/de-activate keytracking on the selected layer. When disabled, the layer’s pitch will remain constant across the keyboard.
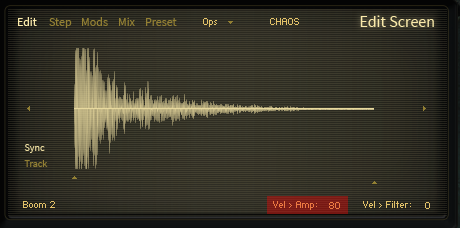
Layer Velocity to Amp
Used to control how much velocity effects the volume of the note.
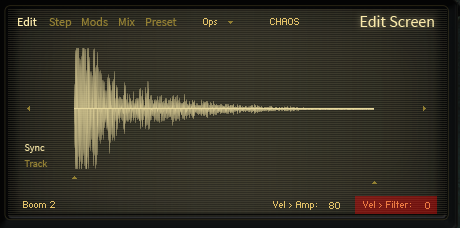
Layer Velocity to Filter
Used to control how much velocity effects the filter cutoff. Hint: The filter cutoff must not be at max for this to have any audible effect.
Step Sequencer
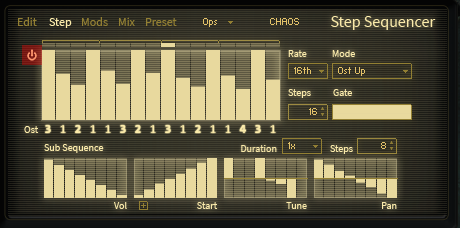
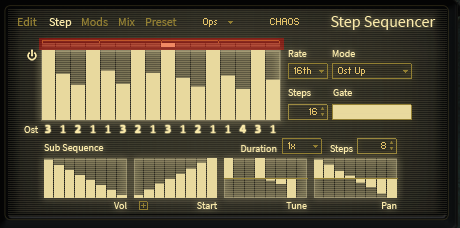
This screen is where you access Project Chaos’ advanced step sequencers. Each layer has its own sequencer, so this screen updates to reflect the currently selected layer.
Step Sequencer Power
This button turns on/off the step sequencer.
Step Select
Use this to select steps without entering data.
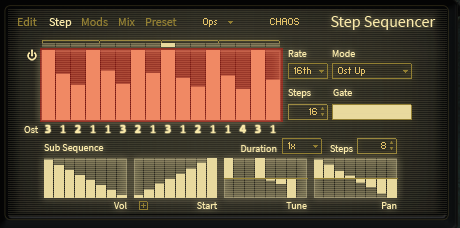
Main Sequence
Use this to enter velocity data for the steps. A velocity of 0 will result in the step being ignored.
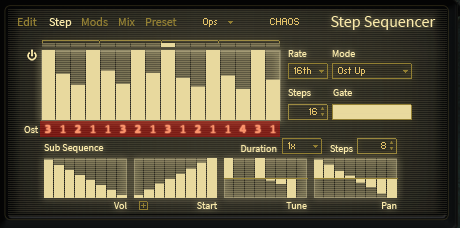
Ostinato Sequence
When you hold down a chord/multiple keys, each key is assigned a number, with 1 being the lowest note and (up to) 8 being the highest note. Use these numbers to select which note to use for the step. Hint: The Step Sequencer mode must be set to Ost Up or Ost Down for this to have any effect
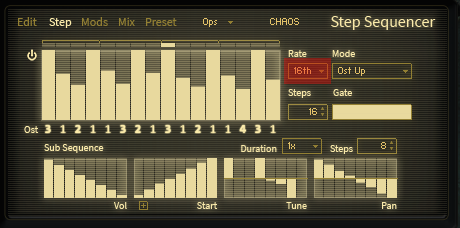
Sequencer Rate
Use this to set the rate at which the steps will be cycled through.
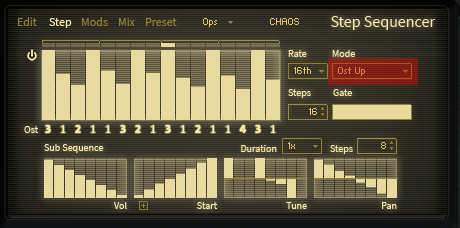
Sequencer Mode
Select from either Ost Up (standard Ost behaviour), Ost Down (reverse Ost behaviour, where the notes are assigned in descending order), or 3 different arpeggiator play modes.
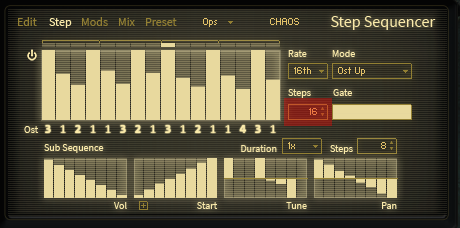
Sequencer Step Count
This adjusts how many steps the sequencer will play through before cycling back to the first.
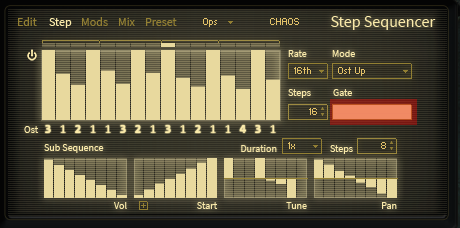
Sequencer Gate
This adjusts how long each sequencer note will be held. It’s a percentage of the Sequencer Rate, so if you have your rate set at 8ths and the gate set half way, the sequencer notes will be held for a 16th.
Sub Sequence Controls

This is where the true power lies in Project Chaos’ Sequencers. Every step in the main sequence has it’s own Sub Sequence. You will notice that these controls update to reflect the currently selected step in the main sequence.
Sub Sequence Steps
This adjusts how many steps the sub sequence will contain. A sub sequence can contain up to 32 steps.

Sub Sequence Duration
This value is a multiplier of your main sequencer rate. The sub sequence notes will be triggered at an even rate across this time frame. So if you have your main sequence set at 4ths, and your sub seq duration set at 4x, the sub sequence notes will be triggered evenly across 1 bar.

Sub Sequence Volume
Sets the volume for each step in the sub sequence.

Sub Sequence Start
Sets the sample start offset for each step in the sub sequence. Hint: This parameter is limited to the Sample Start range set on the Edit Page for the selected layer

Sub Sequence Tune
Sets the tuning for each step in the sub sequence. This works in semitones with a +/- 12 semitone range.

Sub Sequence Pan
Sets the panning for each step in the sub sequence.

Sub Sequence Zoom
Use this button to access the Sub Sequence Start Zoom screen.

Sub Sequence Start Zoom
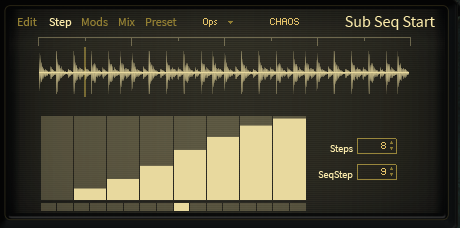
This screen helps you to make more deliberate adjustments to the start offset sub sequence. When you make an adjustment to one of the start sub-sequence steps, it’s position will be displayed in the waveform display. Note that adjustments to the start sub sequence are automatically quantized to a grid. If you want to make more finely-tuned adjustments, hold alt+shift while adjusting. You can select a different main sequence step to edit using the table below, or the SeqStep value edit. You can also adjust the number of sub seq steps from this screen. To exit, just hit the Step tab again at the top of the screen.
Modulators
This screen is where you access the scripted modulators. There are four modulators available: two LFO’s and two Sequencers.
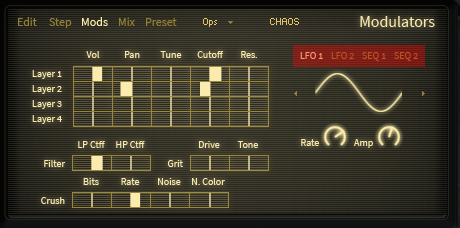
Modulator Selector Tabs
Use these tabs to select one of the four modulators. The other controls on the screen will update to reflect the currently selected modulator.
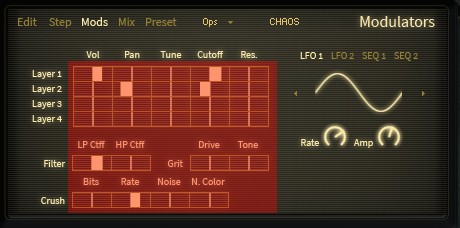
Modulation Matrix
This lets you adjust the amount of influence the currently selected modulator has on the target parameter. Sliding a cell to the right will result in a positive influence, while sliding it to the left will result in a negative (inverted) influence.
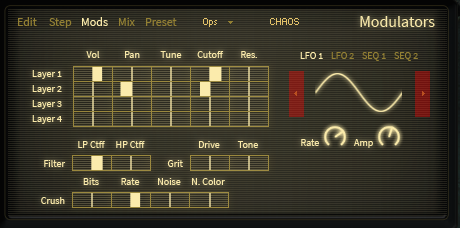
LFO Shape Selectors
Change the LFO shape with these arrows.
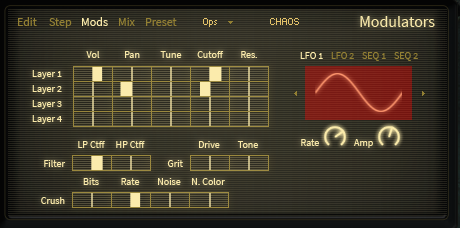
LFO Offset
The LFO shape display doubles as an LFO offset slider. Drag left or right on the shape to offset it.
LFO Rate
This sets the rate at which the LFO will complete a full cycle.
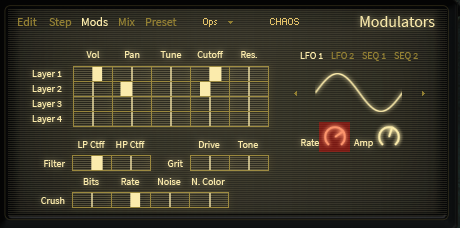
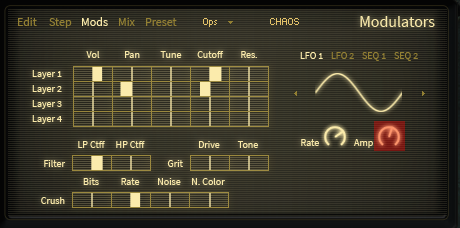
LFO Amp
This adjusts the amplitude of the LFO. A setting of 0 will result in the LFO having no effect.
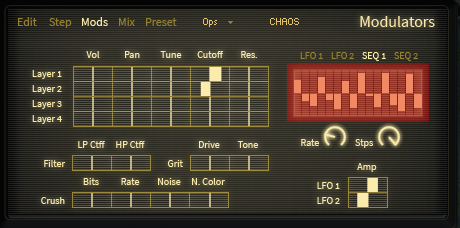
Mod Sequence Table
Use this to edit the amplitude of each step in the Mod Sequence.
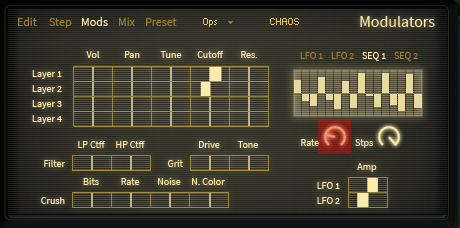
Mod Sequence Rate
This adjust the rate at which the Mod Sequence will cycle through ALL steps. So if you have the rate set at 1 bar, it will cycle through all steps in 1 bar. You can think of the Mod Sequencer as a drawable LFO shape instead of a traditional sequence.
Mod Sequence Step Count
Use this to adjust the number of steps in the Mod Sequence.
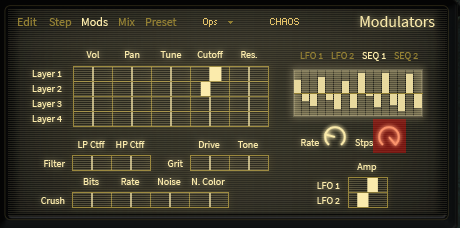
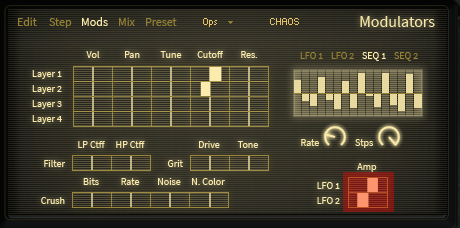
Mod Sequence to LFO Amp
The mod sequencers can be used to influence the LFO1 and LFO2 Amp parameters.
Layer Mix
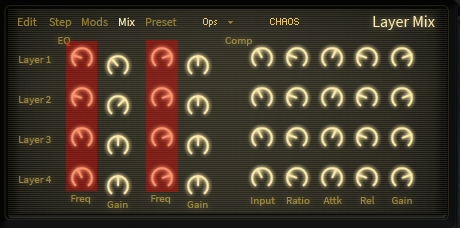
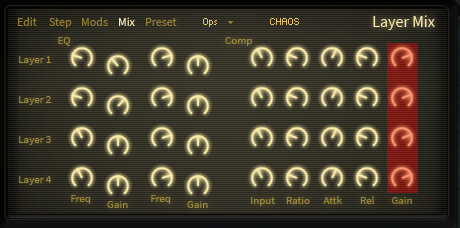
This screen provides access to 2-band EQ and Compression for each layer.
EQ Frequency
Use these to set the band frequencies for the 2-band EQs.
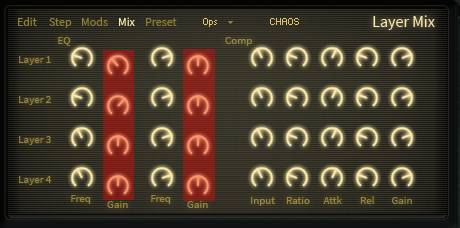
EQ Gain
Use these to set the band gain for the 2-band EQs.
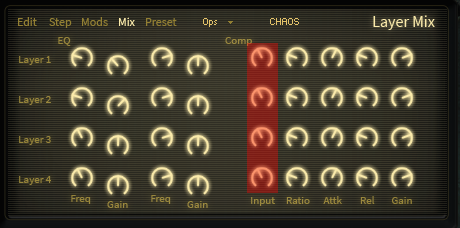
Compression Input
These adjust both the level of signal going to the compressors and the threshold. A higher setting will result in more compression.
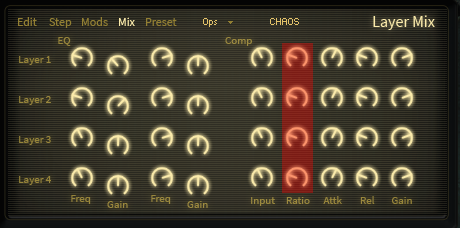
Compression Ratio
These determine how much to compress the signal that exceeds the threshold. Turn them to the right for more compression. A setting all the way to the left will result in no compression.
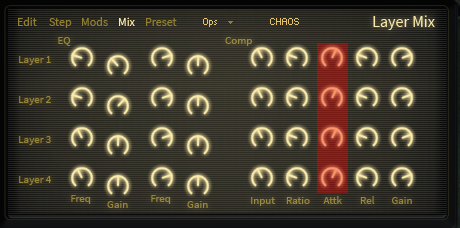
Compression Attack
These tell the compressors how long to take to reach full compression after the signal exceeds the threshold.
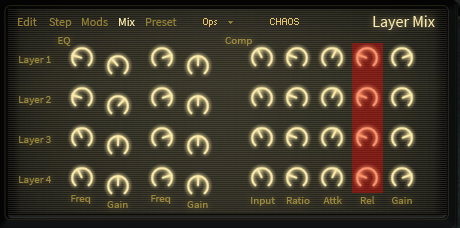
Compression Release
These tell the compressors how long to take to return to no compression.
Compression Gain
These add gain to the signal coming out of the compressors.
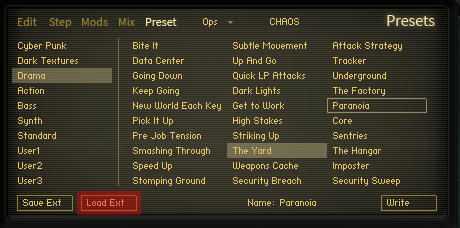
Presets
This screen is where you access Project Chaos’ fully custom scripted preset system. All Chaos Banks can hold 300 internal presets and can save and load external presets.
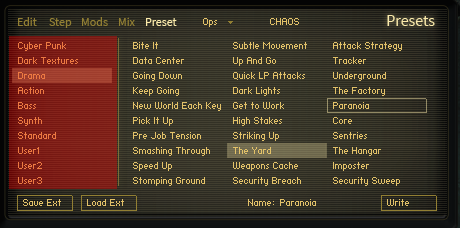
Preset Categories
This is where you select the Preset category. Each category holds 30 presets.
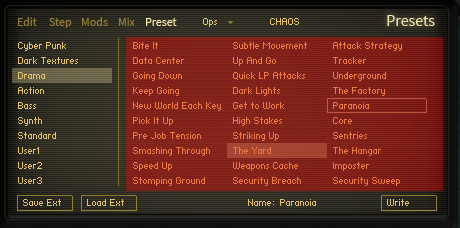
Preset Grid
This is where you select and load internal presets. Click once to select a preset, or double click to load it.
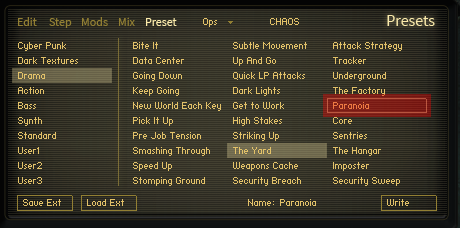
Selected Preset
The highlighted preset is the preset that is currently selected. This is the preset slot that will be written to when you click the Write button.
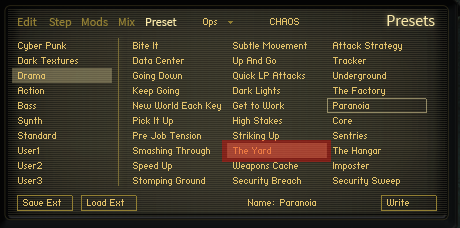
Loaded Preset
The outlined preset is the preset that was last loaded.
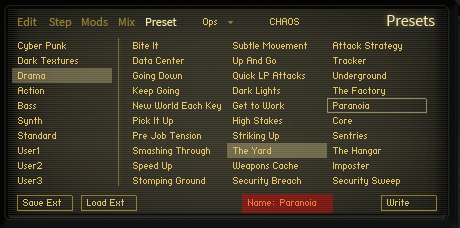
Preset Name
Use this to name your preset before writing it.
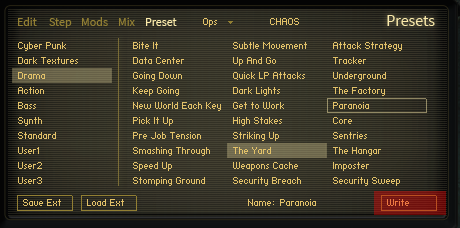
Write Preset
Use this to write your preset to the currently selected preset slot. USE WITH CAUTION. Ensure that you have the the correct preset slot selected before clicking this.
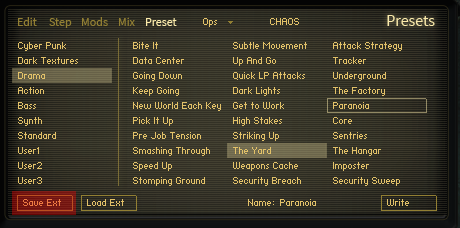
Save External Preset
This will allow you to save a preset to an external file somewhere on your HDD. Hint: We recommend doing this for all of your presets and just using the internal presets as a quick-access list of favorites. That way if you accidentally overwrite one internally, you still have a copy of it.
Load External Preset
This will let you load an external preset. Hint: We recommend creating a folder for each of your Chaos Banks dedicated to storing external presets. A preset made in one bank will not necessarily be useful in another.
Master FX

Master FX Selectors/Enablers
To the left is the Master FX Selectors and Enablers.
FX Selectors
Use these to select the effect for editing.

FX Enablers
These switches turn the FX on/off.

Master FX Parameters
In the middle are the controls for the various FX parameters. These update to reflect the currently selected effect.
Master Filter Controls
- HP Cutoff – Controls the cutoff on the master high pass filter.
- HP Resonance – Controls the resonance on the master high pass filter.
- LP Cutoff – Controls the cutoff on the master low pass filter.
- LP Resonance – Controls the resonance on the master low pass filter.

Master Grit Controls
- Drive – Controls the distortion amount.
- Tone – Controls the timbre of the distortion.
- Scoop – Brings in a mid-cut EQ.
- Warmth – Brings in warmth from tape saturation.

Master Crush Controls
- Bits – Controls the bit-rate.
- Rate – Controls the sample rate.
- Noise – Controls the noise level.
- Color – Adjust the color of the noise.

Master Punch Controls
- Gain – Adjusts the input gain.
- Attack – Adjusts the transient level.
- Sustain – Adjusts the sustained level.
- Slam – Brings in parallel compression.

Master Delay Controls
- Rate – Sets the delay rate. Tempo synced by default. Hold alt to adjust in ms.
- Damp – Sets the damping (high frequency rolloff) amount.
- Bounce – Adjusts the stereo ping-pong effect amount.
- Feedback – Adjusts the feedback, or how long it will take for the delay to fade out.

Master Reverb Controls
- Length – Adjusts the size/duration of the reverb.
- Predelay – Adjusts the amount of delay before the reverb is heard.
- HP – Adjusts high pass cutoff on the wet (reverberated) signal.
- LP – Adjusts the low pass cutoff on the wet (reverberated) signal.

Send Levels
The delay and reverb are send fx. Adjust their levels here.

Chaos Banks
End User License Agreement
This End User License Agreement (“EULA”) represents a legal contract between you and Hybrid Two
LLC. By downloading and installing Project Chaos, you are acknowledging your agreement to the terms
and conditions presented within this EULA. If you do not agree to the following terms and conditions,
you must remove Project Chaos and any media you have created with it from any data storage devices
on which you have installed it.
Project Chaos and its audio samples remain in the ownership of Hybrid Two LLC. You are simply
assigned a license to use them in your productions. This license is single-user and is not transferable
without the direct, written permission of Hybrid Two LLC.
You are allowed to use Project Chaos and its audio samples for the following:
– Musical scores for Films, Games, TV, Commercials, Trailers, Streaming Content, Radio and Live Performances.
– Library/Production music, as long as the samples are used in a musical context.
– Sound FX for Films, TV, Commercials, Trailers, Streaming Content, Radio and Live Performances.
– Sound FX for Video Games and other Software Applications (with the exception of software designed for the creation of music and/or sound design), as long as the samples have been embedded and/or obfuscated by some form of encryption/asset protection and are not distributed in a format that makes them readily accessible to the end user.
You are allowed to distribute your own Chaos Banks provided you are the copyright owner of any and
all sample content that they contain. Hybrid Two LLC cannot be held liable for any damages incurred by your
distribution of content for which you do not own the rights.
You are NOT allowed to:
– Upload Project Chaos or its audio samples to any server or torrent site.
– Sell Project Chaos or its audio samples.
– Distribute Project Chaos or its audio samples.
– Use Project Chaos’s audio samples or patches for the creation of other sample libraries or music creation/sound design software.
– Use Project Chaos or its audio samples to train Generative AI.
The online documentation and video manual for Project Chaos will available shortly after launch.
Hybrid Two LLC reserves the right to change the terms and conditions of this EULA at any time, and to
deny the sale of a license to use Project Chaos at any time.


About Us
© Copyright 2024 Hybrid Two LLC
Hybrid Two LLC is an American company focused on creating innovative and powerful cinematic instruments.